Mastering glass engraving with a diode laser: A comprehensive guide
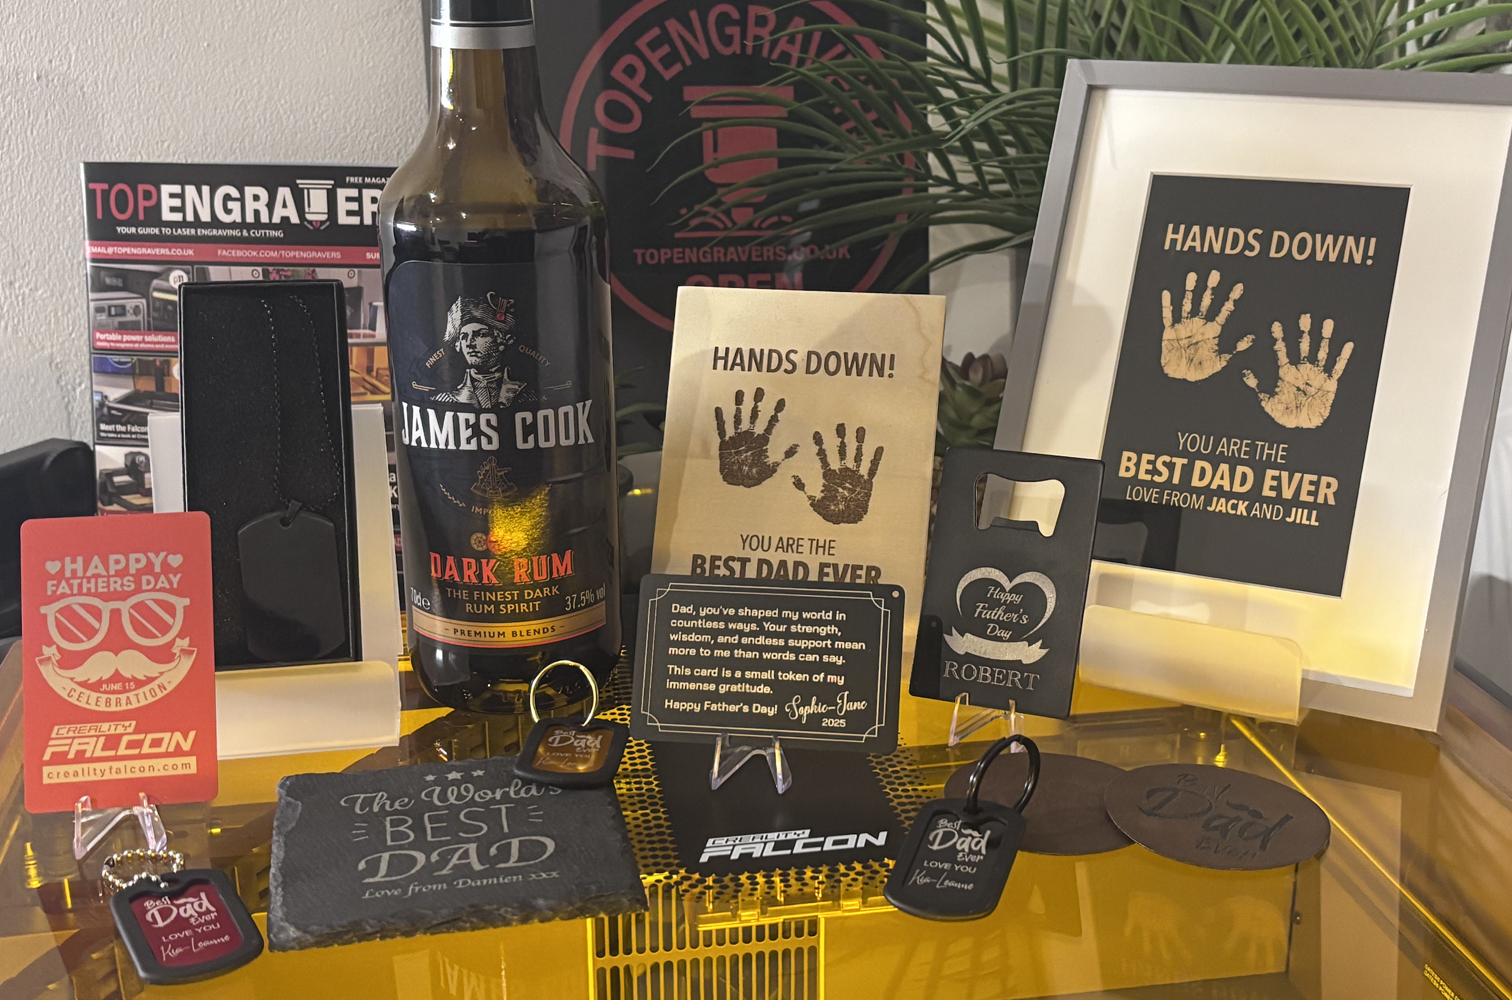
Glass engraving with a diode laser offers a unique opportunity to create personalised gifts, decorative items, and artistic pieces.
However, it’s a process that requires careful attention to detail and safety precautions.
Understanding the risks:
Glass is a reflective material, which poses a significant risk to your diode laser. When the laser beam hits the glass surface, a portion of it reflects back towards the laser head. This reflected beam can damage the laser diode, potentially reducing its lifespan or causing complete failure. Therefore, it’s crucial to minimise reflections during the engraving process.
Choosing the right laser:
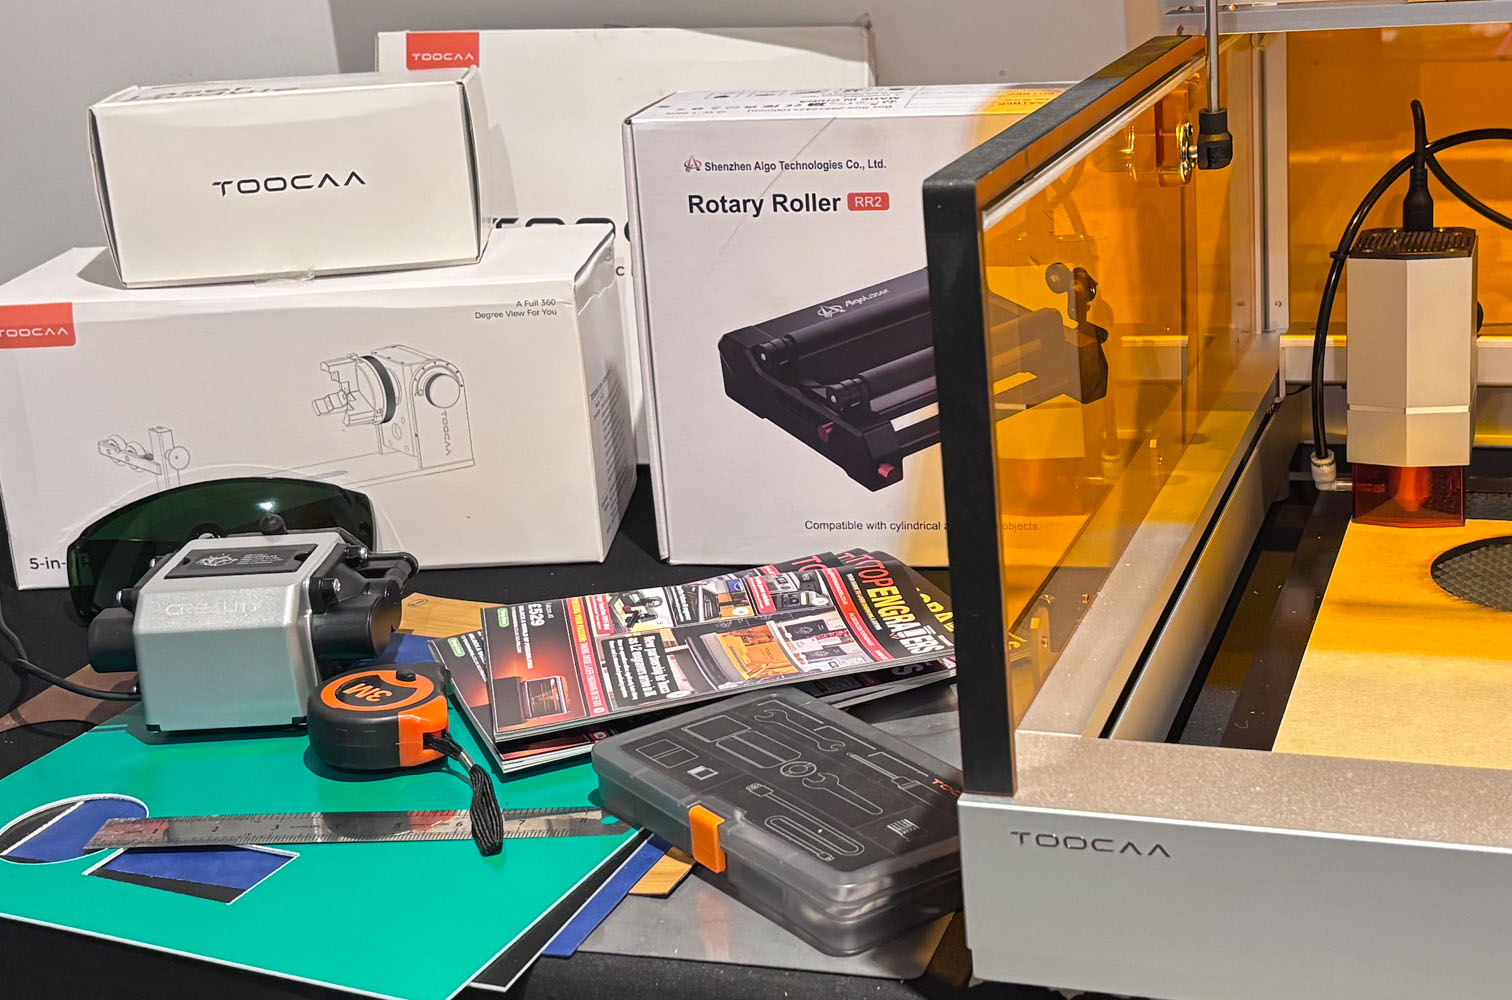
While diode lasers can engrave glass, they are not the ideal choice for deep or high-resolution engravings. CO2 lasers are generally preferred for glass engraving due to their higher power and longer wavelength, which are more readily absorbed by glass. However, if you’re working with a diode laser, it’s best to use a higher-powered diode laser (10W or more) to achieve better results.
Tips for successful glass engraving:
- Masking the glass: Applying a dark, matte paint or masking tape to the glass surface before engraving can significantly reduce reflections. The dark colour absorbs the laser energy, preventing it from bouncing back. Ensure the paint or tape is completely dry before engraving.
- Laser engraving paper: Special laser engraving paper or film can be applied to the glass surface. This material absorbs the laser energy and transfers the design onto the glass.
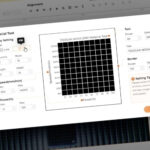
- Low power and high speed: Start with low power settings and high engraving speeds to minimise heat buildup and prevent cracking. Gradually increase the power as needed.
- Air assist: Using air assist can help to cool the glass surface and remove debris during the engraving process.
- Water cooling: For larger or more intricate engravings, consider using a water cooling system to prevent the glass from overheating.
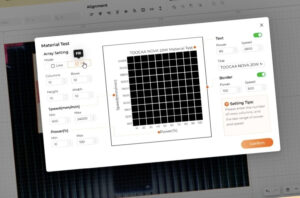
- Test engravings: Always perform test engravings on scrap glass before working on your final piece.
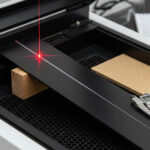
- Focus: Proper focusing of the laser beam is essential for achieving clear and precise engravings.
- Patience: Glass engraving with a diode laser can be a slow process. Be patient and allow the laser to do its work.
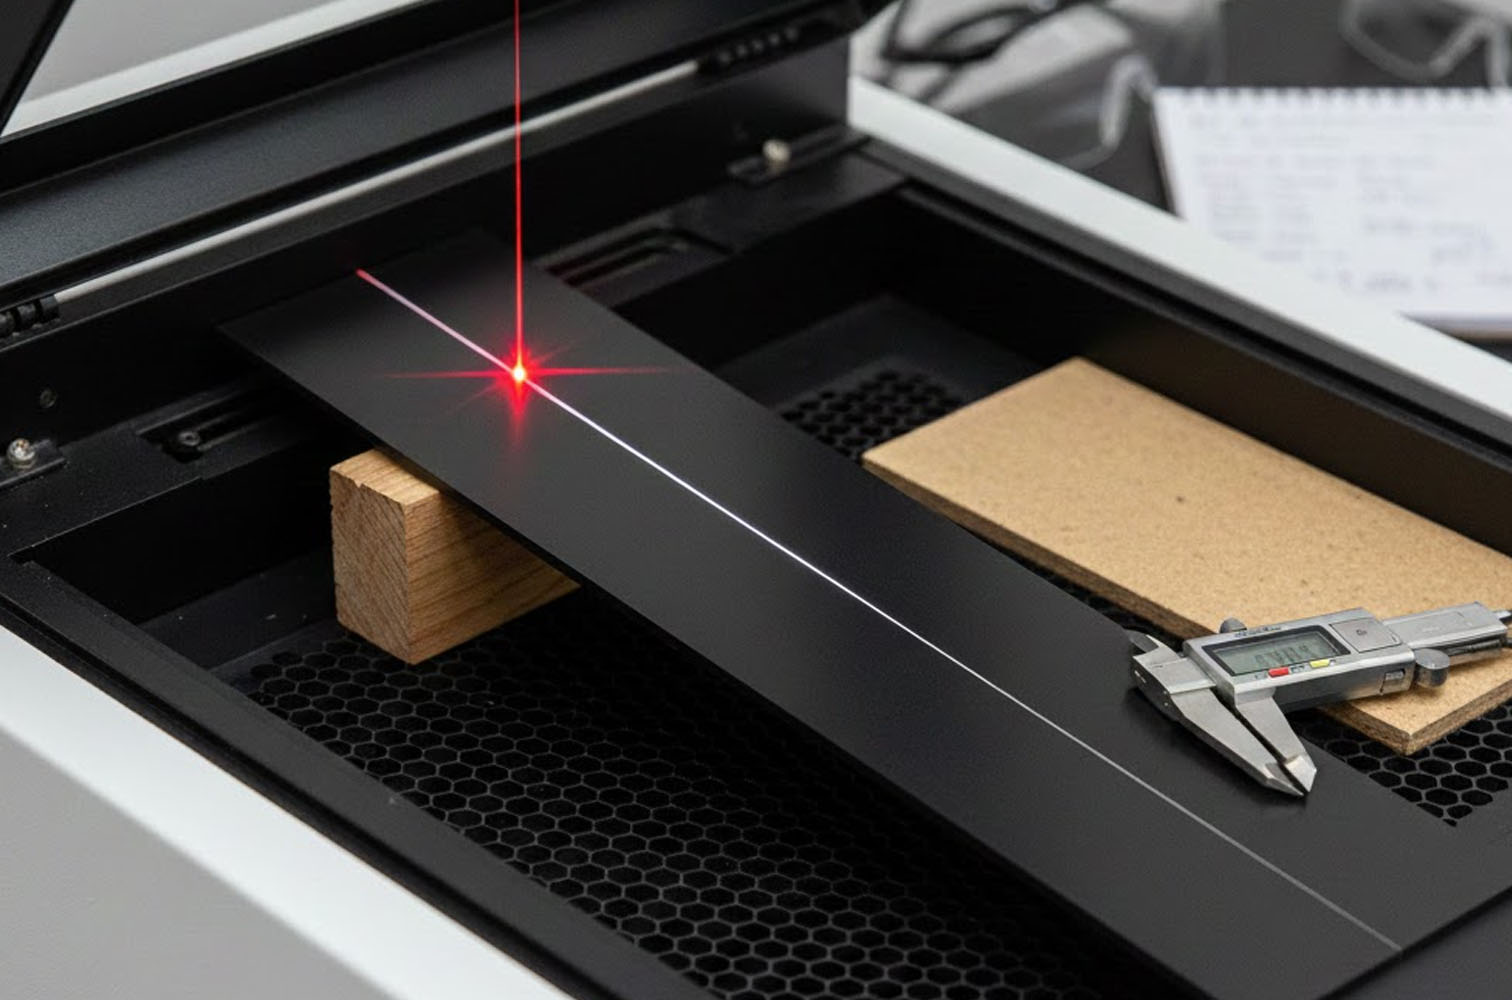
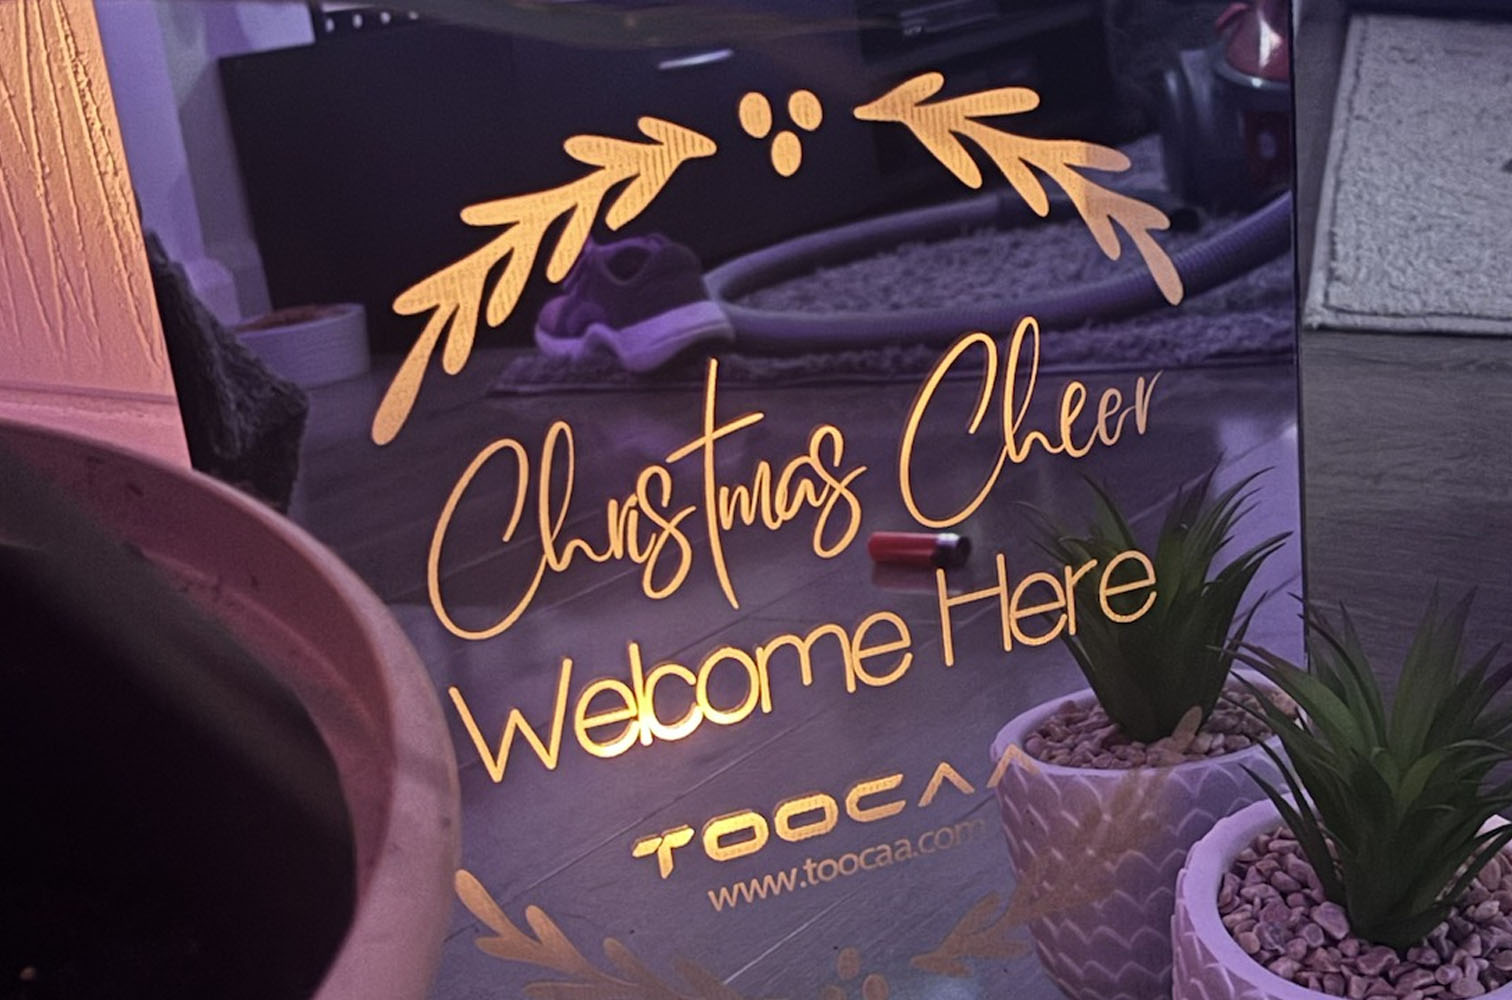
Engraving on mirrors:
Engraving on mirrors is best done from the back. This allows you to remove the reflective coating, revealing the clear glass underneath. To prevent shattering, ensure the mirror is placed on a honeycomb base. The honeycomb structure provides support and minimises stress on the glass surface. Remember to use masking or paint on the back of the mirror to reduce reflections.
By following these tips and taking necessary precautions, you can achieve beautiful and lasting engravings on glass with your diode laser.
Related Posts