Battling the wobble: taming wobbly lines in diode laser engravings
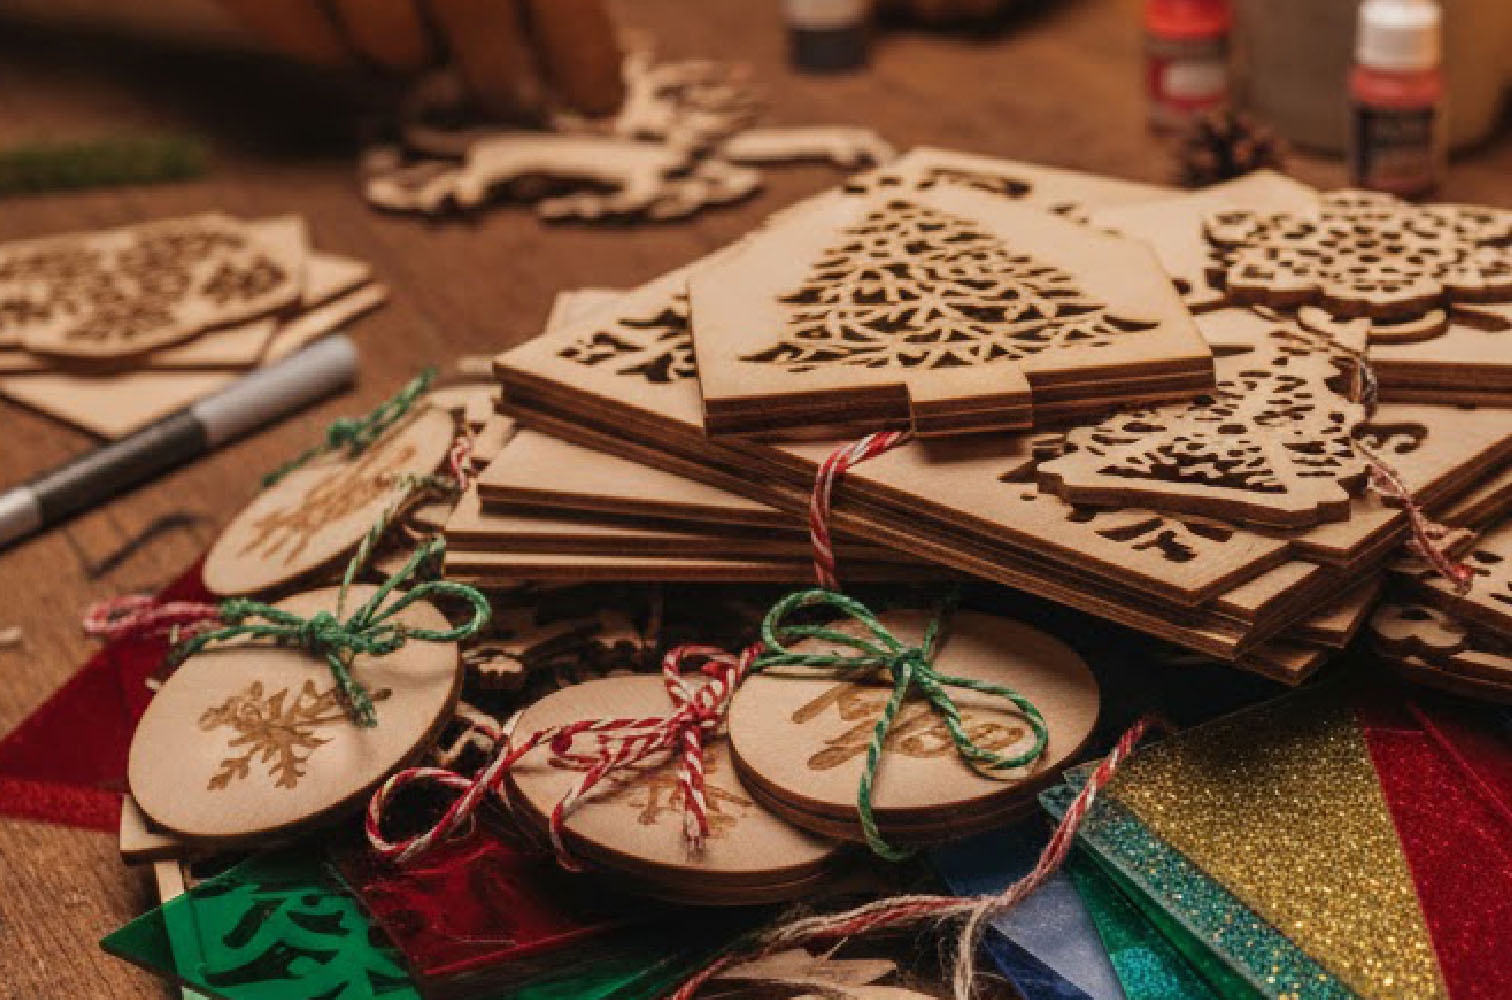
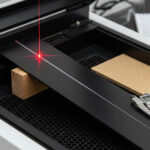
Diode laser engraving offers a world of creative possibilities, but achieving crisp, clean lines can sometimes be a frustrating challenge.
Wobbly, uneven lines can mar even the most intricate designs, leaving creators scratching their heads. Understanding the common culprits behind this issue is the first step towards achieving flawless engravings.
The Top 5 Culprits of Wobbly Lines:
- Loose or improperly assembled frame: A shaky foundation is the primary source of wobbly lines. Diode laser engravers, especially entry-level models, often require careful assembly. Any loose screws, improperly aligned components, or wobbly frame elements can translate into unwanted movement during engraving.
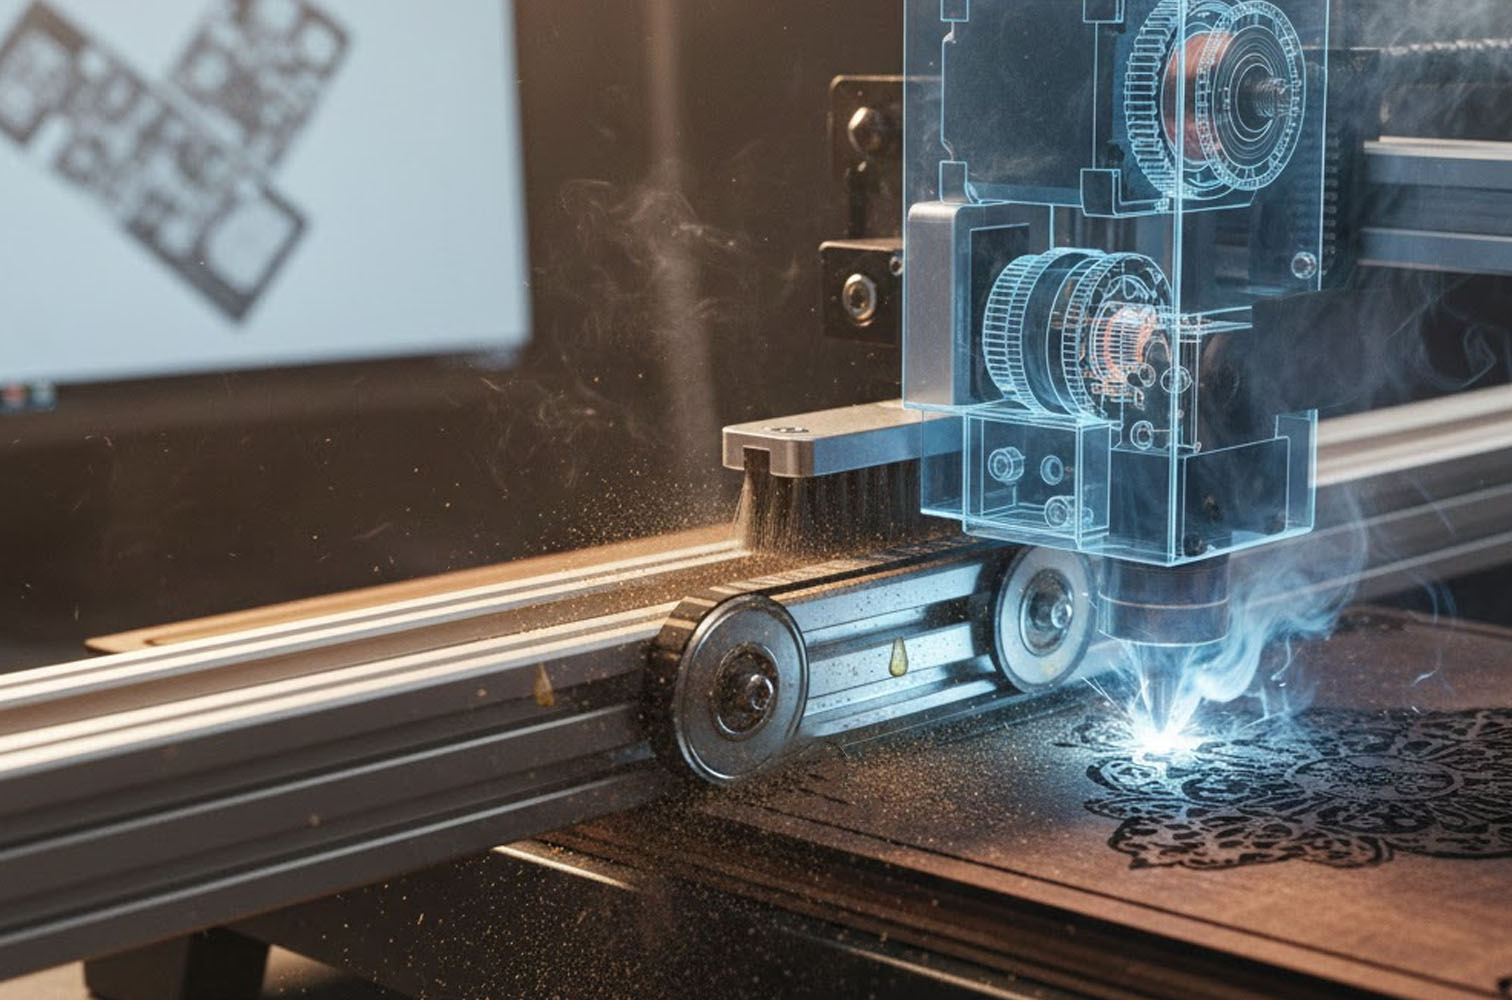
- Belt tension issues: The belts that drive the laser head’s movement must be properly tensioned. Loose belts can cause the laser head to vibrate or skip, resulting in erratic lines. Conversely, overtightened belts can strain the motors and lead to jerky movements.
- Motor vibrations: The stepper motors that control the laser head’s movement can generate vibrations, particularly at high speeds. These vibrations can be amplified by the machine’s frame, leading to wobbly lines.
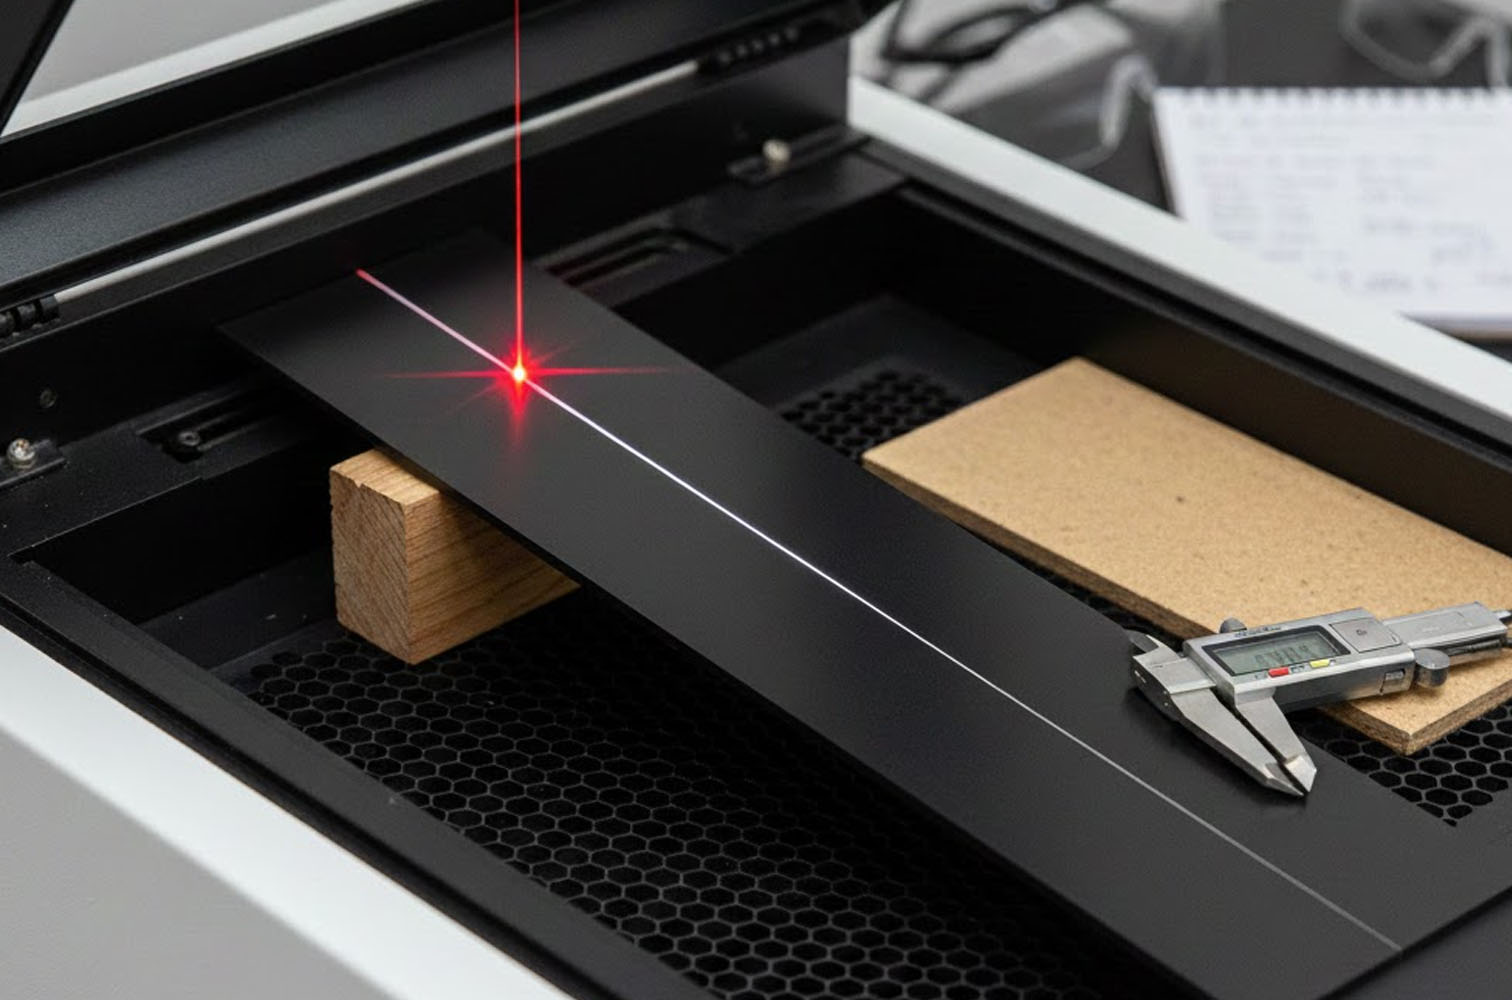
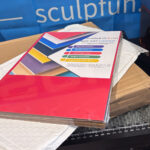
- Workpiece instability: If the material being engraved is not securely fastened, it can shift during the engraving process, causing the laser beam to deviate from its intended path.
- Software or firmware glitches: In rare cases, software or firmware issues can cause erratic laser head movements. This can manifest as sudden jerks, pauses, or deviations from the programmed path.
Taming the Shake: Tips for Fixing Wobbly Lines:
- Thorough frame inspection: Begin by meticulously inspecting the machine’s frame. Tighten all screws and bolts, ensuring they are snug but not overtightened. Check for any loose or wobbly components, and address them accordingly.
- Belt tension adjustment: Refer to your machine’s manual for instructions on adjusting belt tension. Aim for a tension that allows for smooth movement without excessive slack or tightness.
- Vibration dampening: Employ vibration dampening materials to minimise motor vibrations. Rubber feet, anti-vibration mats, or even strategically placed weights can help absorb vibrations.
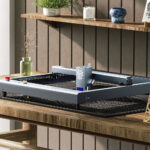
- Secure workpiece mounting: Securely clamp or tape the workpiece to the laser bed to prevent any movement during engraving. Using a honeycomb bed can also help to secure the material.
- Software and firmware updates: Ensure you are using the latest software and firmware versions for your machine. Updates often include bug fixes and performance improvements that can address software-related wobble issues.
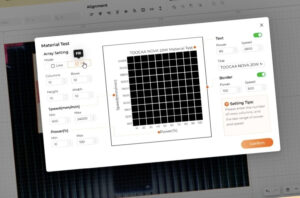
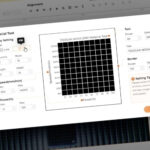
- Speed and acceleration control: Lowering the engraving speed and acceleration settings can reduce the impact of vibrations. Experiment with different settings to find the optimal balance between speed and stability.
- Check the rails and wheels: Make sure the wheels running on the rails are tight enough that they don’t have any play.
- Check the laser module: Make sure the laser module itself is firmly attached to the carriage.
By addressing these common causes and implementing the recommended fixes, you can significantly reduce or eliminate wobbly lines, achieving the crisp, clean engravings you desire.
#DiodeLaserEngraving #LaserEngravingTips #WobblyLines #LaserEngravingProblems #LaserEngravingFix #LaserMachineMaintenance #DIYLaser #CraftingTips #MakerCommunity #LaserArt
Related Posts