


Focus on sharp engravings: Difference between ‘good enough’ and ‘perfection’
In the world of laser engraving, we often obsess over speed, power settings, and lines per inch (LPI). We spend hours tweaking image dithering algorithms and hunting for the highest quality vector files. Yet, there is one fundamental variable that is frequently treated with a surprising lack of rigour: focus.
Many operators, particularly those new to the craft, rely entirely on the little acrylic spacer or the generic “focus block” that came with their machine. They drop the nozzle, let it touch the block, tighten the grub screw, and hit “Start”. If the engraving looks acceptable, they move on.
But in this trade, “close enough” is the enemy of excellence. If you have ever wondered why your photo engravings look slightly muddy, why your cutting lines have wide, charred kerfs, or why you cannot seem to achieve that crisp, white contrast on slate, the answer likely lies in the physics of your focal point.
This article takes a deep dive into the mechanics of laser focus and provides a step-by-step guide to building a “Ramp Test”—the ultimate method for determining your machine’s true, razor-sharp focal length.
The Physics of the Beam: Understanding the Hourglass
To understand why precision matters, we must first visualise the shape of the laser beam. It is not, as often imagined, a straight column of light that extends infinitely like a lightsaber.
The beam emitted from your laser tube is roughly parallel (collimated) until it hits your focus lens. As it passes through the convex lens, it converges towards a specific point.
However, it does not stop there; it passes through that point and immediately begins to diverge (spread out) again.
The result is a beam profile shaped exactly like an hourglass.
- The Waist: The narrowest point of the hourglass is your focal point. This is where the energy density is highest and the beam diameter (spot size) is smallest.
- Depth of Field: The vertical zone around the waist where the beam remains reasonably narrow is the depth of field.
Why “Close Enough” Fails
If your material surface sits even 1mm above or below the true focal point, the beam spot size increases dramatically.
Imagine you are trying to engrave a photograph at 300 DPI (dots per inch). If your laser is perfectly focused, your spot size might be 0.08mm. This allows for distinct, crisp dots with unburned material between them. However, if you are slightly out of focus, that spot size might bloom to 0.15mm. Suddenly, your dots overlap. The crisp details merge into a blob of charred timber or blurred acrylic. You haven’t changed your power or speed, but you have lost your resolution simply because the beam was too wide when it hit the surface.
Furthermore, a focused beam cuts cleaner. An out-of-focus beam spreads the same amount of heat over a larger area. Instead of vaporising the material instantly (sublimation), it merely melts or burns it, leading to the dreaded charred edges on wood or fused edges on acrylic.
The Manufacturer’s Lie (Or, The Problem with Spacers)
Most laser machines ship with a focus tool—usually a small piece of acrylic or a metal step-gauge. While these are helpful for getting you in the ballpark, they are rarely perfect.
Why? Because they assume the distance from the bottom of your nozzle to the focal point is static. In reality, this distance changes based on:
- Lens Orientation: If you removed your lens for cleaning and put it back in with the curved side facing the wrong way (or if the retaining ring is tightened differently), the focal point shifts.
- Lens Variations: Cheap generic lenses sold as “50.8mm / 2 inch” often have manufacturing tolerances that make them actually 49.5mm or 51.5mm.
- Nozzle Design: If you upgrade your air assist nozzle or change the lens tube, the physical reference point for that spacer tool is no longer valid.
To find the true focal length of your specific setup, you need to ignore the spacer and ask the laser beam itself where it is sharpest. This is where the Ramp Test comes in.
The Solution: The Ramp Test
The Ramp Test is an elegantly simple procedure that visualises the hourglass shape of your beam onto a piece of material, allowing you to physically measure the exact point of highest definition.
What You Will Need
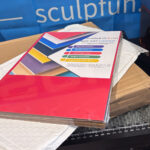
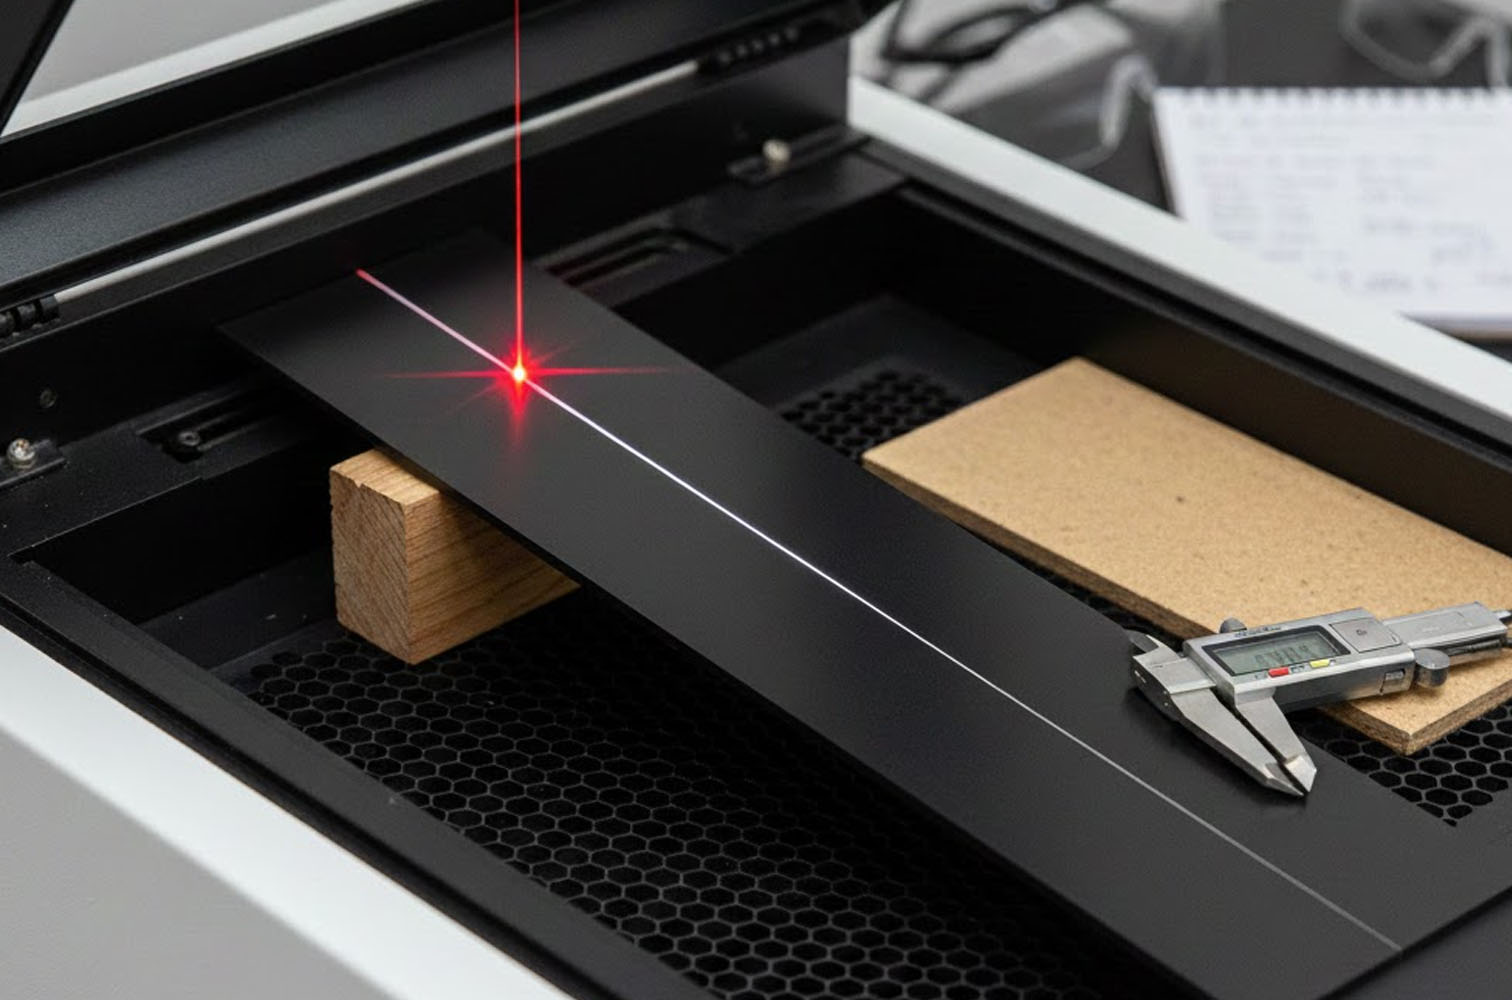
- A scrap piece of material, roughly 200mm to 300mm long. Anodised aluminium, black painted tile, or plain MDF works well. Something that shows high contrast is best.
- A wedge or block to prop up one end of the material.
- Digital callipers.
Step-by-Step Guide
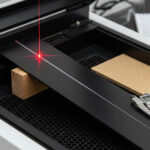
- The Setup: Place your scrap material on the laser bed. Place the block under one end of the material so that it sits on an incline (a ramp). The low end should be lower than your suspected focal point. The high end should be higher than your suspected focal point. Example: If you think your focus gap is usually 10mm, prop the material so it runs from 5mm height up to 15mm height.
- The File: Create a simple design in your laser software: a single straight line running along the Y-axis (or X-axis, depending on how you oriented your ramp). The line should run the full length of the ramp. Set the power low and speed high—you want to mark the surface, not cut through it. For wood, just enough to create a dark mark; for anodised aluminium, just enough to bleach the colour.
- The Execution: Move the laser head to the start of the ramp. Do not enable Z-axis movement (autofocus) during the job. The laser head must remain at a fixed height while it travels across the sloping material. Run the job.
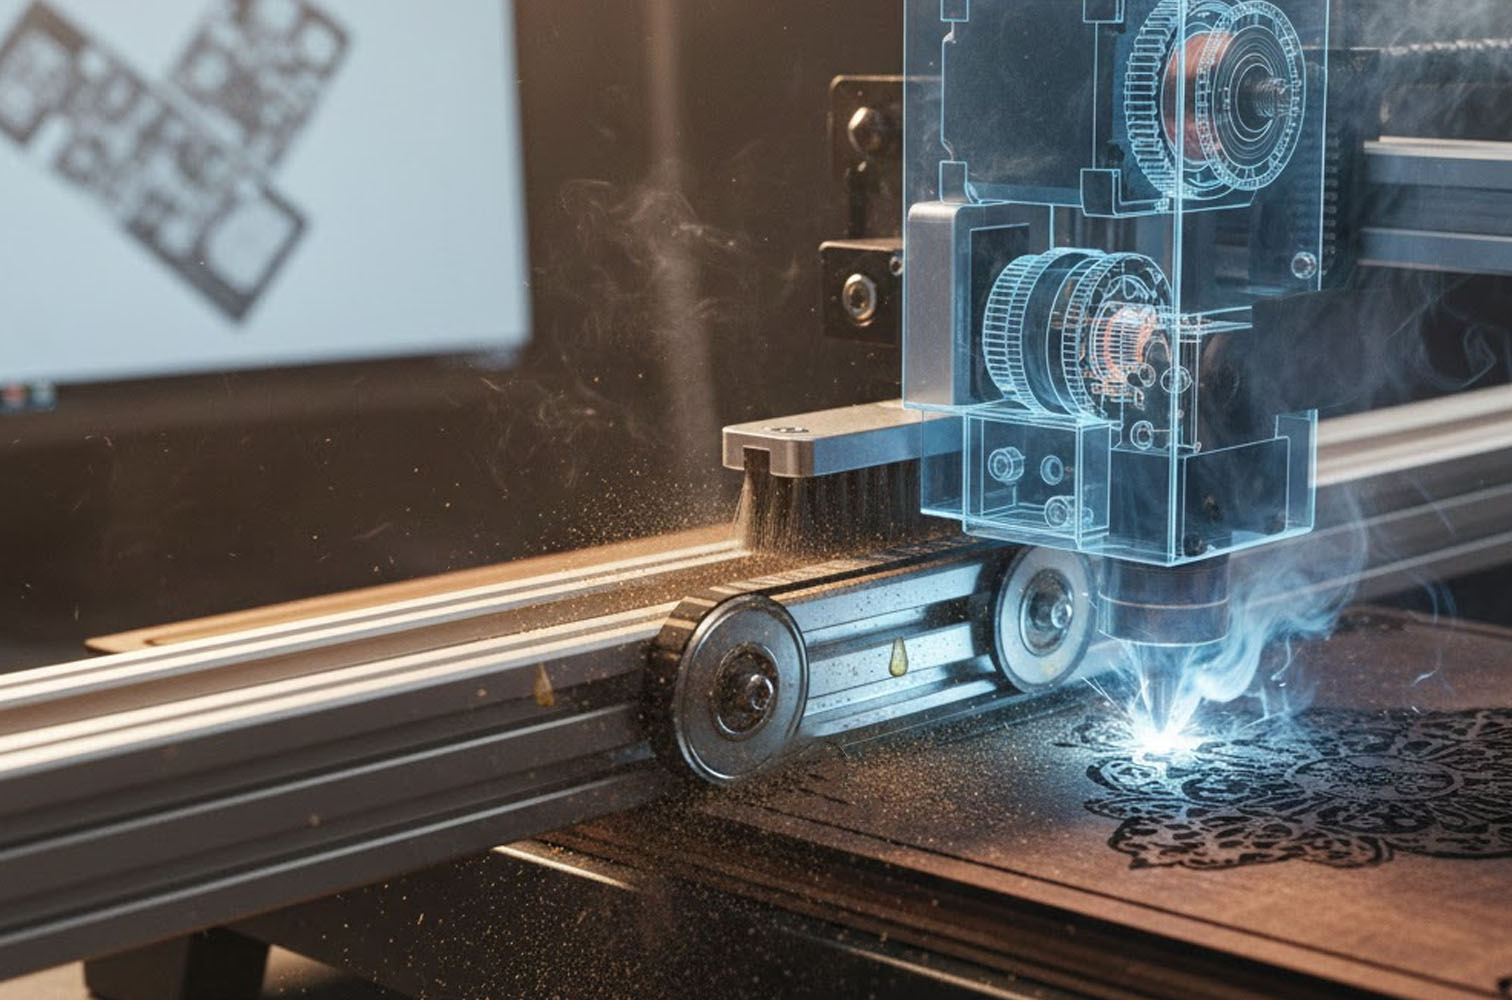
- The Analysis: Take the material out and examine the line under good light (a magnifying glass helps). You will see a physical representation of the beam’s hourglass. At the start (low end), the line will be wide and blurry. As it moves up the ramp, the line will get thinner and darker. At a specific point, the line will be razor-thin. As it continues up the ramp, it will widen and blur again. Mark the spot where the line is thinnest with a pencil. This is your “Sweet Spot”.
- The Measurement: Now, you need to translate that spot into a repeatable setting. Place the material back on the bed exactly as it was (or use the measurements if you kept the laser head stationary). move the laser nozzle so it is hovering directly over your pencil mark—the Sweet Spot. Use your digital callipers to measure the distance from the tip of your nozzle to the surface of the material at that exact point. That measurement is your Golden Number. If the callipers read 11.4mm, then 11.4mm is your perfect focal height for that specific lens.
Operationalising Your Findings
Now that you have your Golden Number (let’s say 11.4mm), you should create a custom focus tool. Do not rely on the callipers every time. 3D print or laser cut a small step-gauge or a simple block that is exactly 11.4mm tall. Label it “2-Inch Lens Tool”.
Now, whenever you set up a job, you use your tool, not the manufacturer’s. You will likely notice an immediate improvement in the sharpness of your text and the clarity of your dithering.
When to Re-Test
- You should run a quick Ramp Test whenever you:
- Replace a lens.
- Change to a lens with a different focal length (e.g., swapping a 2″ for a 4″).
- Disassemble the laser head for deep cleaning.
Advanced Focus: Lens Selection and Material Irregularities
Mastering focus also means understanding when to change your lens entirely. Most standard machines come with a 2.0-inch (approx. 50mm) lens. This is the jack-of-all-trades. It has a moderate spot size and a moderate depth of field. It is good for general cutting (up to 6mm acrylic) and general engraving.
However, for specific tasks, you should optimise your optics:
- The 1.5-inch Lens (High Detail) Best for: High-resolution photo engraving, very fine text (under 6pt), and thin vector lines. The Trade-off: It has a smaller spot size (higher resolution) but a very shallow depth of field. Focus Criticality: Extreme. Because the hourglass is “squashed”, the zone of sharpness is tiny. You must use a Ramp Test calibrated spacer here. If your material is warped even slightly, you will see it go out of focus.
- The 4.0-inch Lens (Cutting and Clearance) Best for: Cutting thick foam or wood, or engraving inside deep bowls. The Trade-off: Larger spot size (lower resolution). You won’t get crisp photos. Focus Criticality: Low. The beam converges very slowly. You have a long “neck” on the hourglass. This allows you to cut through 10mm or 12mm material with straighter edges, as the beam doesn’t diverge as drastically at the bottom of the cut.
Dealing with Warped Material
We have all dealt with that piece of plywood that resembles a potato chip. If you are using a 1.5″ or 2″ lens, a warped board will ruin your focus.
- The Compromise: If you cannot flatten the board with hold-down pins or magnets, focus the laser on the average height of the material—between the peaks and the troughs. It won’t be perfect anywhere, but it won’t be disastrously blurry on the high or low spots.
- The Pro Move: Switch to a 2.5″ or 4″ lens. The deeper depth of field will tolerate the warping much better than a short focal length lens.
Conclusion
Laser engraving is a game of microns. While the machinery is robust and industrial, the interaction between light and matter is delicate. We often blame the tube, the power supply, or the software when our results are sub-par, but the culprit is frequently the humble focal distance.
By abandoning the “close enough” mindset and taking twenty minutes to perform a Ramp Test, you unlock the true potential of your machine. You will find your engravings possess a new depth, your text becomes legible at sizes you thought impossible, and your cuts become cleaner and faster.
Don’t let a generic plastic spacer dictate the quality of your work. Find your focus, and let your craftsmanship shine.
Related Posts